
Building Your First Real Kubernetes Application (Not Another nginx Demo)
A hands-on guide to deploying a 2-tier Flask application with PostgreSQL, secrets management, and private container registries

In the first part of the Kubernetes blog series, we covered why Kubernetes exists and how its core components work together. We learned about pods, deployments, and services through simple examples.

That’s not how real applications work.
Real applications need databases. They have secrets like API keys and database passwords. They use private container registries. They need to handle networking between multiple services.
Today, we’re building exactly that — a complete 2-tier student attendance application that will teach you the Kubernetes concepts you’ll actually use in your job.
Project
We’ll deploy a 2-tier student attendance application with:
Flask web application (Python backend)
PostgreSQL database (external RDS)
Secrets management for database credentials
Private container registry (AWS ECR)
Note: You will find the complete code for this blog post on my GitHub repo, here
Setting Up a Kubernetes Environment
For this blog post, I will be using minikube as our Kubernetes cluster.
Minikube runs Kubernetes inside a container or VM. This creates an isolated environment that’s separate from your host machine.
Your Computer
├── Docker Engine (host)
└── Minikube Container/VM
    ├── Kubernetes Cluster
    ├── Docker Engine (inside minikube)
    └── Your Application Containers
Installing Minikube
I will install minikube on an AWS EC2 machine. You can run it anywhere you want, on a Mac, Windows, or Linux machine. Here are the things I will need to install before starting to deploy the app on minikube
What you’ll need
2 CPUs or more
2GB of free memory
20GB of free disk space
Internet connection
Container or virtual machine manager, such as Docker,
Let’s install minikube on an EC2 machine with Amazon Linux 2023
Launch an EC2 VM with a minimum of 2 CPU cores, associate a security group with ports 22 and 80 opened so you can log in to the VM and access the app running on EC2
Install Docker, as minikube needs it.
Install Kubectl so we can communicate with the Kubernetes cluster running on minikube
Install minikube
# Install Docker
sudo yum install docker -y
sudo systemctl start docker
sudo usermod -aG docker ec2-user

# take a new session for docker group to take effect

# Install kubectl
curl -O https://s3.us-west-2.amazonaws.com/amazon-eks/1.32.7/2025-08-03/bin/linux/amd64/kubectl
chmod +x ./kubectl
mkdir -p $HOME/bin && cp ./kubectl $HOME/bin/kubectl && export PATH=$HOME/bin:$PATH
echo ‘export PATH=$HOME/bin:$PATH’ >> ~/.bashrc


# Install minikube
curl -LO https://github.com/kubernetes/minikube/releases/latest/download/minikube-linux-amd64
sudo install minikube-linux-amd64 /usr/local/bin/minikube && rm minikube-linux-amd64
Start the cluster
# Start minikube
minikube start

# check status
minikube status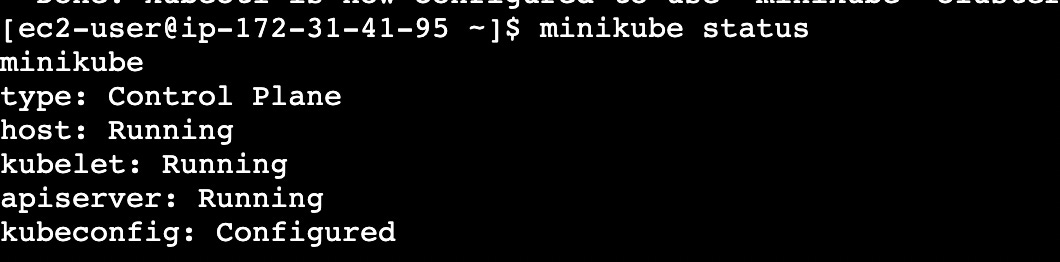
# Verify installation
kubectl get nodes

# more info about nodes with -o wide option
kubectl get nodes -o wide

# Running pods on default name space
kubectl get pod

# Pods running across namespaces
kubectl get pod -A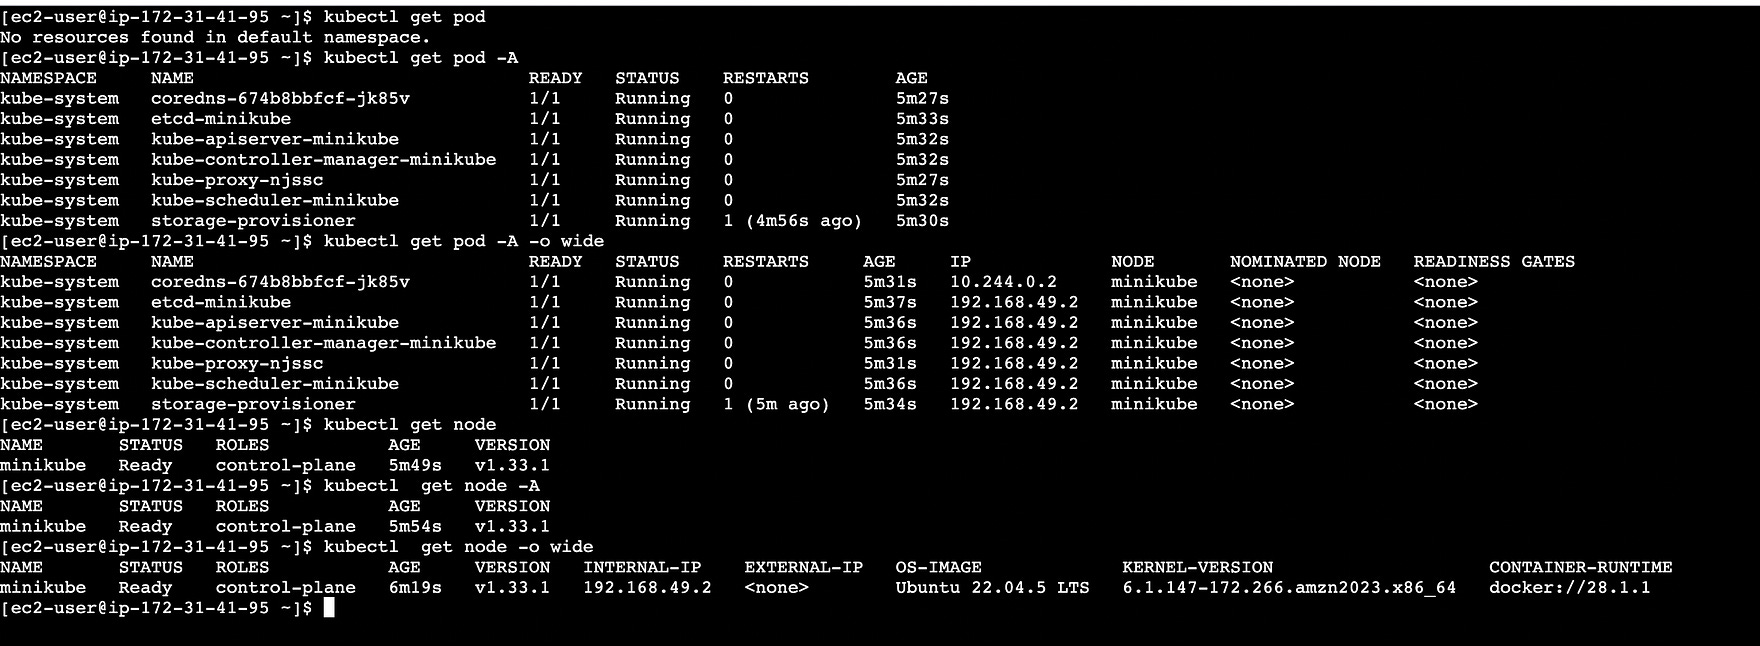
Understanding Container Orchestration with Pods
Let’s start with a fundamental concept that often confuses people — why does Kubernetes use pods instead of managing containers directly?
Pods: More Than Just Container Wrappers
Pods serve as wrappers around containers, but they’re not just containers themselves. Here’s why this design matters:
Better dependency management:
Multiple containers in a pod share the same network and storage
Perfect for sidecar patterns (logging, monitoring, proxy)
Containers can communicate via localhost
Simplified management:
All containers in a pod are scheduled together
They share the same lifecycle (start/stop together)
Easier to manage complex applications
Example: Web app with logging
Pod
├── Flask App Container (port 8000)
└── Log Collector Container (reads shared log files)
Both containers share the same network interface and volumes, making log collection seamless.
How Kubernetes Components Actually Communicate
One of the most common questions is: “How does the scheduler talk to worker nodes?” Let’s clear this up.
The API Server: Central Hub for Everything
Everything flows through the API server; it’s like the central nervous system of Kubernetes:
kubectl → API Server ← Controller Manager
            ↓
         etcd (storage)
            ↓
        Scheduler → API Server → kubelet (worker nodes)
Here’s what happens when you deploy a pod:
You run
kubectl apply→ API Server receives the requestController Manager detects the new desired state
Scheduler decides which node should run the pod (based on resources, constraints)
API Server sends instructions to the kubelet on the selected node
kubelet creates the pod and reports status back via the API Server
Key insight: The scheduler doesn’t directly communicate with worker nodes. Everything goes through the API server for consistency, security, and audit logging.
K8s Lab time folks: The fun part
Enough with the theory, now it’s time to deploy our student attendance app and learn concepts through hands-on experience.
We’re building a stateless application:
Flask app: Processes requests but stores no data locally
External RDS database: All persistent data is stored outside Kubernetes
Why this matters: Pods can be killed and recreated without losing any data
User → NodePort Service → Flask Pod → External RDS DatabaseThis stateless design is crucial for Kubernetes scalability.
Application: A Flask(Python) based student portal
Database: A Postgres database container running in the EC2 machine. In production, you will be running the database on RDS(AWS), Cloud SQL (GCP), or another cloud alternative, or on-prem
Building a Docker Image for an application
# install git
sudo yum install git -y

# download the code
git clone https://github.com/akhileshmishrabiz/kubernetes-zero-to-hero
# Navigate to the source directory
cd kubernetes-zero-to-hero/2-tier-app-minikube/src
ls
# Build the Flask app image
docker build -t attendance-app .
# Here’s the minikube-specific step, it make thie docker image made the image
# available for minikube
minikube image load attendance-app
# Verify the image is available inside minikube
minikube image ls | grep attendance-app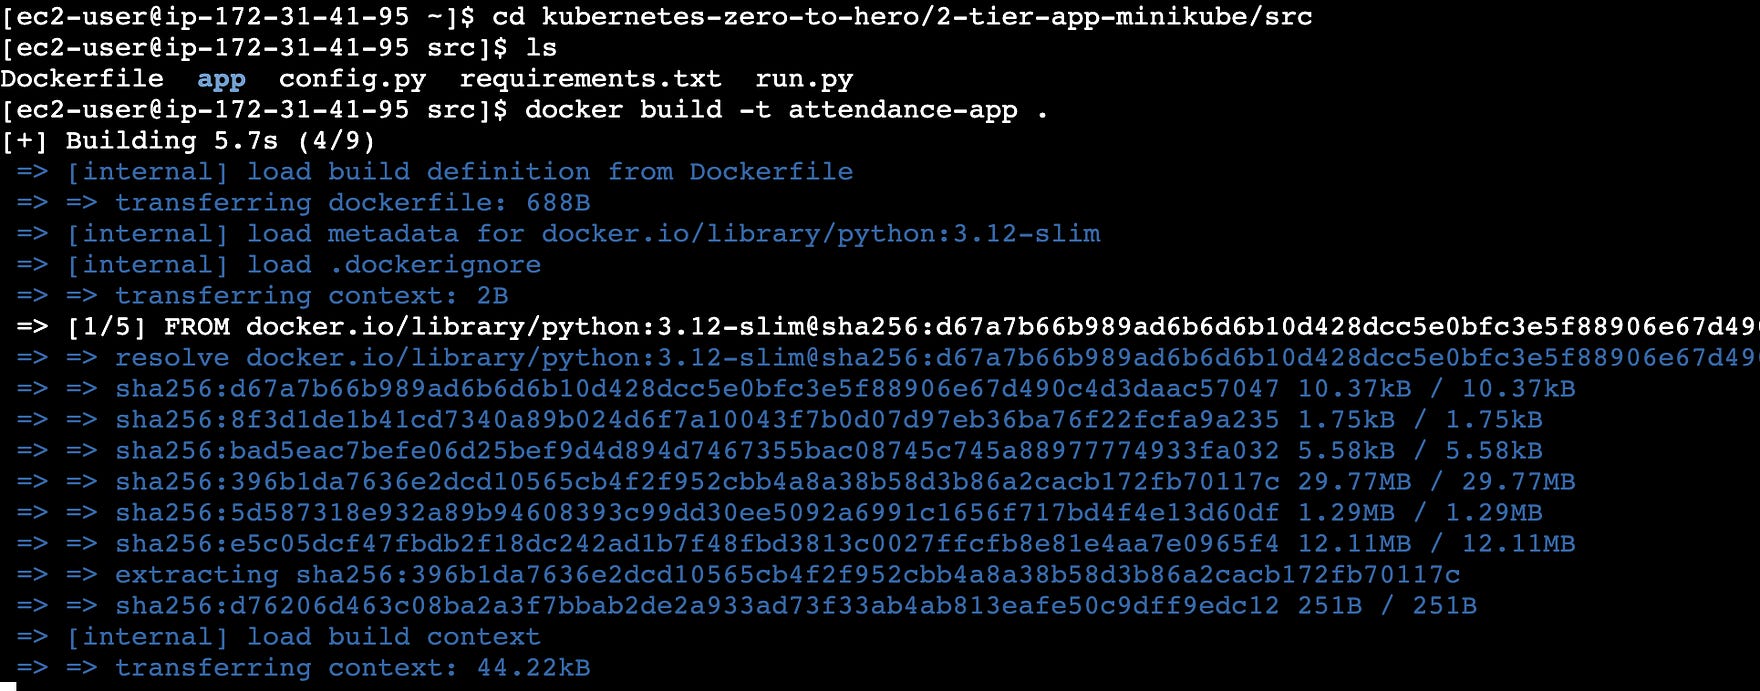
Why minikube image loadRemember, minikube runs Kubernetes inside its own containerized VM environment. The Docker images on your host machine are completely separate from the Docker daemon inside minikube. Loading the image bridges this gap.
Let’s get to Kubernetes deployment
cd kubernetes-zero-to-hero/2-tier-app-minikube/k8sCreate an RDS instance for PostgreSQL with the following details.
Identifier: student-portal
Username: postgres
Password: dbpassword
Dbname: mydb
# 1. On EC2 host - Start PostgreSQL container
docker run -d \
--name postgres-db \
--restart unless-stopped \
-e POSTGRES_DB=mydb \
-e POSTGRES_USER=postgres \
-e POSTGRES_PASSWORD=dbpassword \
-p 5432:5432 \
-v /opt/postgres-data:/var/lib/postgresql/data \
postgres:15
# 2. Test database
docker exec -it postgres-db psql -U postgres -d mydb -c “SELECT version();”
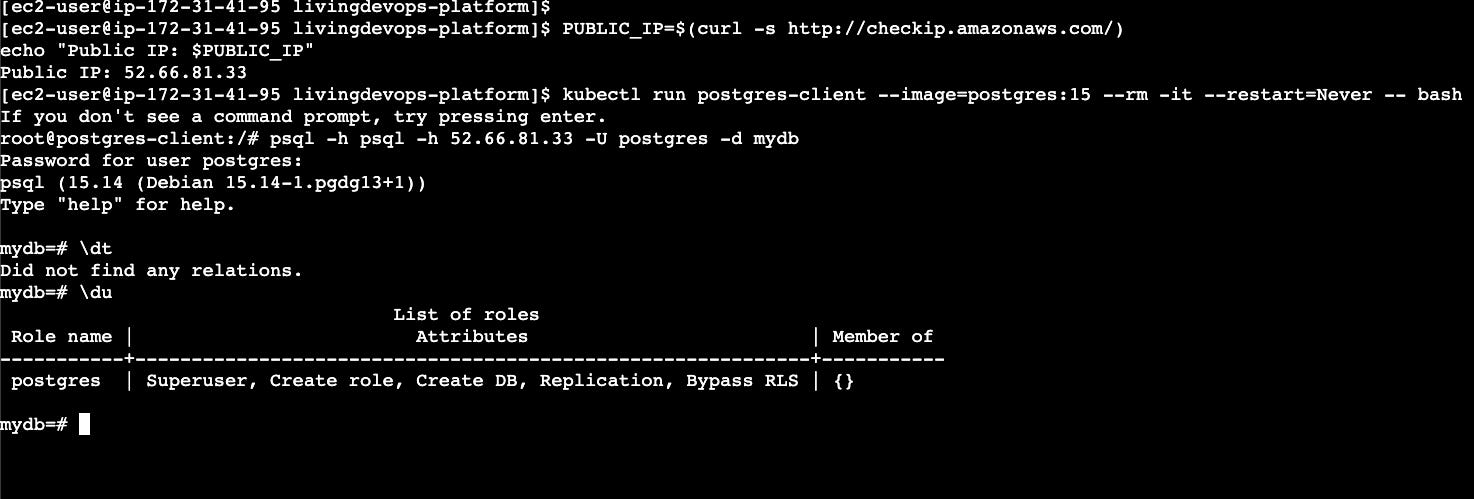
3 # Get the public IP for the Ec2 machine
PUBLIC_IP=$(curl -s http://checkip.amazonaws.com/)
4 # Note the pub IP
echo “Public IP: $PUBLIC_IP”
5 # run a debug pod on minikube k8s env
kubectl run postgres-client --image=postgres:15 --rm -it --restart=Never -- bash
6 # Use the pub Ip and try if you can connect to postgres db
psql -h psql -h 52.66.81.33 -U postgres -d mydb
# -> it will prompt you for password, use the password you used to create
# the databae container
# exit command to come out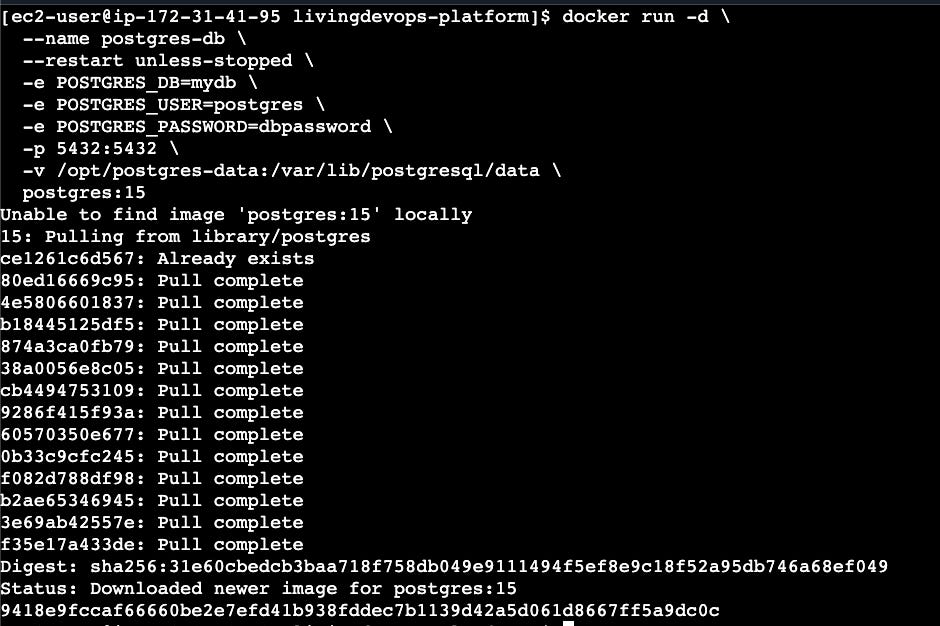
Our application requires an environment variable DB_LINK, which is the link to the Postgres DB, and it uses the format
DB_LINK = “postgresql://{username}:{password}@{db_host}:5432/{db_name}”
# Create database connection string with public IP
DB_LINK=”postgresql://postgres:dbpassword@${PUBLIC_IP}:5432/mydb”
echo “DB Connection String: $DB_LINK”
Secrets vs ConfigMaps: Managing Configuration
Here’s a crucial distinction for production applications:
Use Secrets for sensitive data:
Database passwords and connection strings
API keys and tokens
TLS certificates
OAuth credentials
Use ConfigMaps for non-sensitive data:
Application settings and feature flags
Image names and versions
Environment-specific URLs
Configuration files
Creating Your Database Secret
When it comes to Kubernetes, we can provide this value as k8s secrets. K8s secrets use base64 encoded value
# Set up your database connection (replace with your RDS endpoint)
export DB_LINK=”postgresql://postgres:dbpassword@${PUBLIC_IP}:5432/mydb”

# Create base64 encoded value (Kubernetes requirement)
echo -n $DB_LINK | base64

# paste the output to secret
Important: Base64 encoding is NOT encryption — it’s just a way to store binary data as text in Kubernetes.
# secret.yaml
apiVersion: v1
kind: Secret
metadata:
  name: db-secret
type: Opaque
data:
  DB_LINK: cG9zdGdyZXNxbDovL3Bvc3RncmVzOmRicGFzc3dvcmRANTIuNjYuODEuMzM6NTQzMi9teWRi
cd ../k8s/exercise1/
# create the secret file
vi secret.yaml
# Create the secret
kubectl apply -f secret.yaml
kubectl get secret


Production note: Never hardcode secrets in YAML files. In real environments, secrets should be generated at runtime or pulled from external secret management systems.
Creating Your Deployment
# deployment.yaml
apiVersion: apps/v1
kind: Deployment
metadata:
  name: flask-app
spec:
  replicas: 2
  selector:
    matchLabels:
      app: flask-app
  template:
    metadata:
      labels:
        app: flask-app
    spec:
      containers:
      - name: flask-app
        image: attendance-app
        imagePullPolicy: Never    # Use local image (minikube only)
        ports:
        - containerPort: 8000
        env:
        - name: DB_LINK
          valueFrom:
            secretKeyRef:
              name: db-secret
              key: DB_LINK
Key concepts:
imagePullPolicy: Nevertells Kubernetes to use the local imagesecretKeyRefinjects the secret value as an environment variableThe pod gets the secret at runtime, not at build time
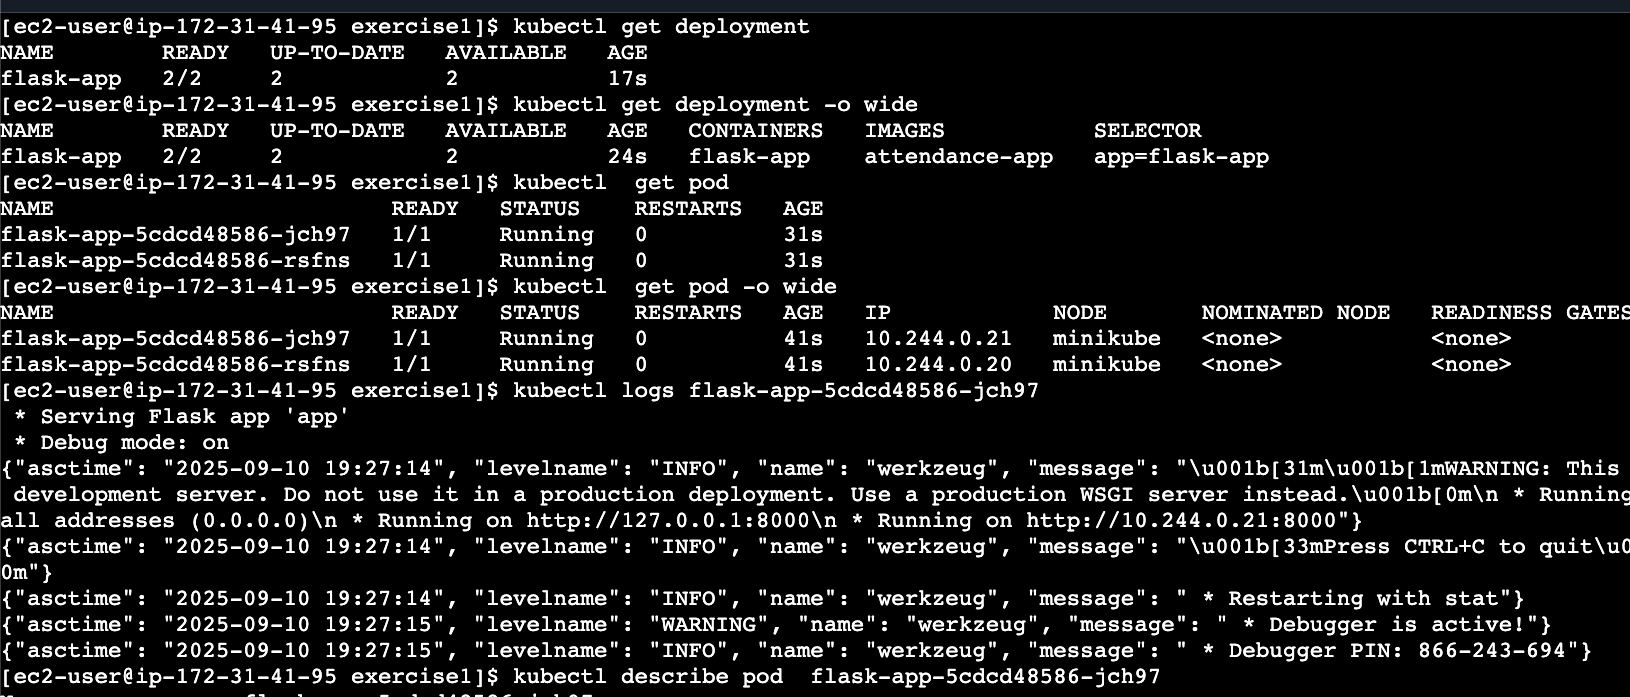
vi deployment.yaml
kubectl apply -f deployment.yaml

kubectl get deployment
kubectl get deployment -o wide

kubectl get pod
kubectl get pod -o wide

kubectl logs <podname>
kubectl describe <podname>

Understanding Service Types: The Networking Challenge
Let’s understand how to expose your application by comparing different service types.
First, try ClusterIP (internal only): service-internal.yaml
apiVersion: v1
kind: Service
metadata:
  name: flask-app-internal
spec:
  type: ClusterIP
  ports:
  - port: 80
    targetPort: 8000
  selector:
    app: flask-app
ClusterIP provides a private IP that’s only accessible from within the cluster. You can’t reach it from your browser.
kubectl apply -f service-internal.yaml

kubectl get svc

kubectl get svc -o wide
Then, switch to NodePort (external access):
# service.yaml
apiVersion: v1
kind: Service
metadata:
  name: flask-app
spec:
  type: NodePort
  ports:
  - port: 80
    targetPort: 8000
  selector:
    app: flask-app
kubectl delete svc flask-app
kubectl apply -f service.yaml
kubectl get svc
kubectl get svc -o wide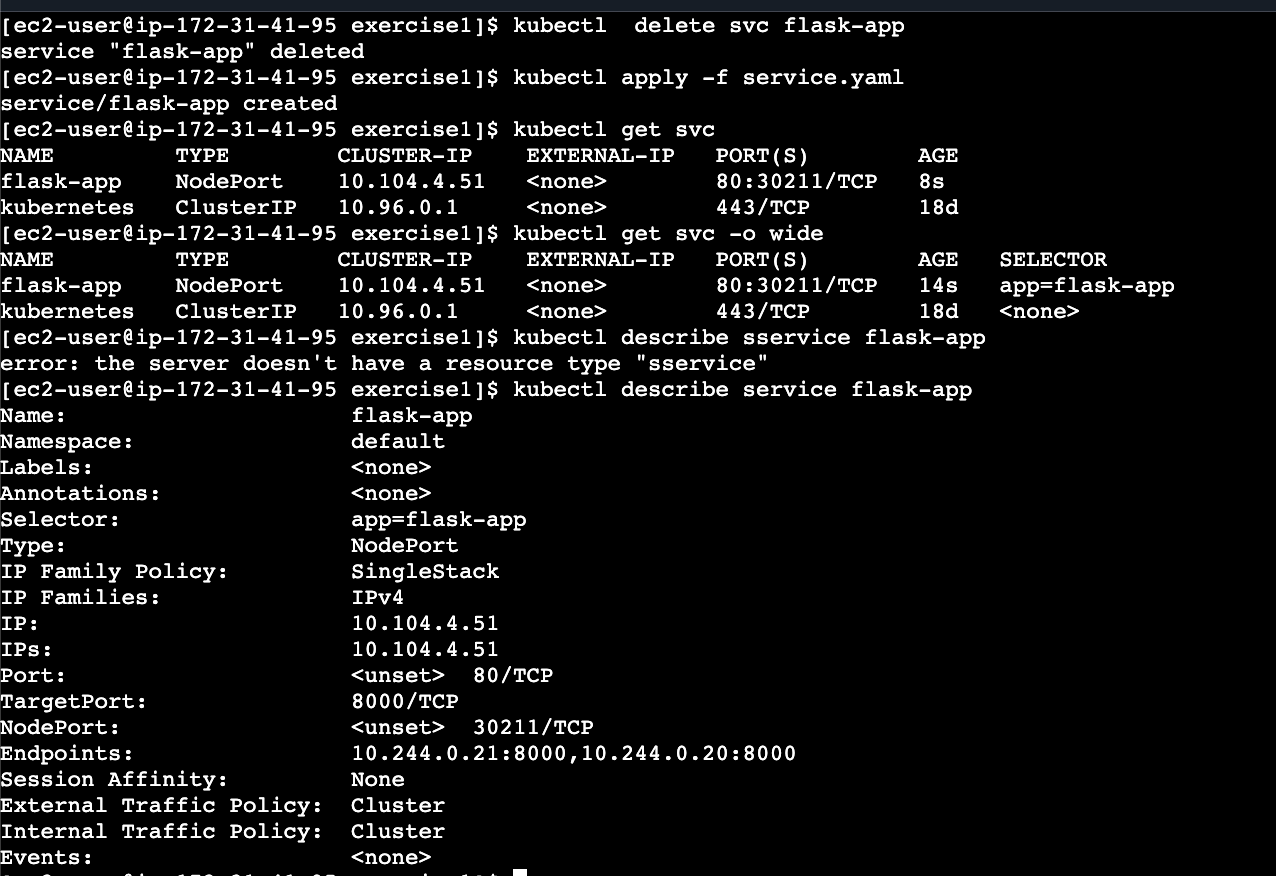
How NodePort Actually Works
Here’s something that confuses many people: NodePort opens the same port on ALL nodes in your cluster.
Node 1 → Port 30080 → Your App
Node 2 → Port 30080 → Your App
Node 3 → Port 30080 → Your App
You can access your app via ANY node’s IP, even if your pod isn’t running on that specific node. This works because of iptables — Linux’s built-in firewall that handles routing between nodes automatically.
For minikube, you use the minikube IP as the node IP since minikube doesn’t provide public IPs.
Deploy Everything and Test
# LOCALHOST ACCESS
# access the app on minikube IP with nodeport port
minikube ip

# Access your application
minikube service flask-app --url

# Alternative: Port forwarding for localhost access
# (use duplicate terminal)
kubectl port-forward service/flask-app 8080:80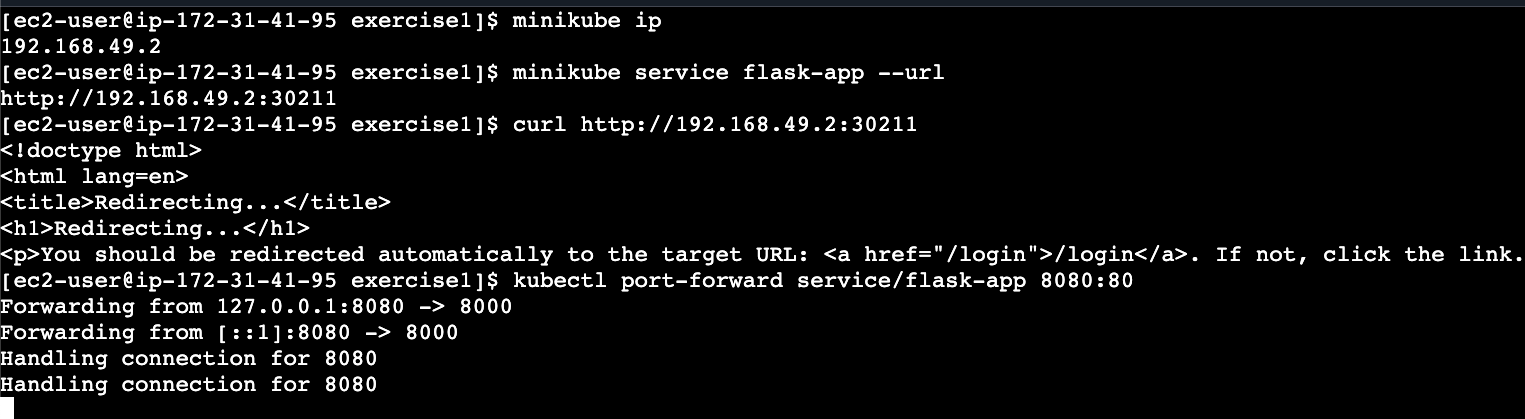

Or you can access the app on the public IP of the EC2 machine
# Forward minikube service to EC2’s public interface
kubectl port-forward --address 0.0.0.0 service/flask-app 8080:80

# Now access via: http://EC2_PUBLIC_IP:8080
This is how you run 2-tier applications on minikube and access them. Of course, it is for learning purposes, and we do not use it in public
Troubleshooting Common Issues
If you see CreateContainerConfigError:
kubectl describe pod <pod-name>This usually means a secret or configmap is missing or has the wrong name.
If you see ErrImageNeverPull:
kubectl describe pod <pod-name>The image isn’t available inside Minikube. Run minikube image load <image-name>.
Verify secrets are working:
bash
kubectl exec -it <pod-name> -- env | grep DB_LINKExercise 2: Working with Private Container Registries
In production, you’ll use private registries. Let’s learn how to work with AWS ECR.
Why Private Registries Matter
Public registries like Docker Hub have limitations:
Rate limits for free accounts
Security concerns for proprietary code
No access control
Private registries like AWS ECR provide:
Secure, private image storage
Fine-grained access control
No rate limits for your images
Integration with cloud security services
Pushing to AWS ECR
# Install AWS CLI (if not already installed)
curl “https://awscli.amazonaws.com/awscli-exe-linux-x86_64.zip” -o “awscliv2.zip”
unzip awscliv2.zip
sudo ./aws/install

# Either create iam secrets(access key and secret key) and configure aws cli

aws configure

# Or create a IAM role with permission to create, attach that to ec2 instace
# and it will allow you to create ecr repo and push/pull
If you are not running it on AWS, use the aws configure method.
# create ecr repo
aws ecr create-repository --repository-name \
 student-portal --region ap-south-1

# Authenticate with ECR
aws ecr get-login-password --region ap-south-1 | docker login --username AWS --password-stdin 366140438193.dkr.ecr.ap-south-1.amazonaws.com

# Tag your image for ECR
docker tag attendance-app:latest \
366140438193.dkr.ecr.ap-south-1.amazonaws.com/student-portal:k8s1

# Push to ECR
docker push 366140438193.dkr.ecr.ap-south-1.amazonaws.com/student-portal:k8s1
Understanding Image Pull Secrets
The challenge: Kubernetes needs credentials to pull from private registries.
The solution: Create a special secret that stores registry authentication:
kubectl create secret docker-registry aws-secret \
  --docker-server=366140438193.dkr.ecr.ap-south-1.amazonaws.com \
  --docker-username=AWS \
  --docker-password=”$(aws ecr get-login-password --region ap-south-1)”
Updated Deployment for Private Registry
# deployment.yaml (updated for ECR)
apiVersion: apps/v1
kind: Deployment
metadata:
  name: flask-app
spec:
  replicas: 1
  selector:
    matchLabels:
      app: flask-app
  template:
    metadata:
      labels:
        app: flask-app
    spec:
      imagePullSecrets:           # This is the key addition
      - name: aws-secret
      containers:
      - name: flask-app
        image: 366140438193.dkr.ecr.ap-south-1.amazonaws.com/student-portal:k8s1
        imagePullPolicy: Always   # Always check for latest
        ports:
        - containerPort: 8000
        env:
        - name: DB_LINK
          valueFrom:
            secretKeyRef:
              name: db-secret
              key: DB_LINK
What happens without image pull secrets? You’ll see ImagePullBackOff errors because Kubernetes can’t authenticate with ECR.
Production Considerations
Why NodePort Isn’t Used in Production
Security concerns:
Exposes ports directly on worker nodes
Worker nodes often have private IPs in VPCs
Direct node access creates security risks
Production alternatives:
LoadBalancer services for cloud-managed load balancers
Ingress controllers for HTTP/HTTPS routing
Service mesh for advanced traffic management
This is all for this blog post. I hope you enjoyed it.
Note: You will find the complete code for this blog post on my GitHub repo, here